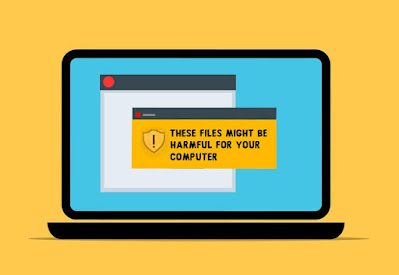
It can be frustrating to see this error every time you transfer files between your network connected PCs. Ultimately, it will interrupt your daily work schedule. Al though its possible to temporarily skip this warning message, it is not recommended to do so.
In this article, I will be describing about 4 Ways to Fix These Files Might be Harmful to Your Computer. Try the below mentioned methods so that you can effectively fix the problem.
Let's get started,
1. Configure Internet Settings
As mentioned earlier this warning can be temporary. By configuring internet settings, you can disable this error message. Or else, you can stop the transfer of files between the network. Whatever it is, you must configure internet settings.
To configure internet settings,
- Go to Start
- Type '' Control Panel '' and Select it
- Inside the search bar type '' Internet Options ''
- Navigate to the Security tab
- Select '' Local Intranet ''
- Select '' Sites '' button
- Press '' Advanced ''
- Type in the IP address or the DNS names
- Press Close button
- Press Ok
2. Disable User Account Control
Most often this error message should be related to the User Account Control. User Account Control (UAC) managers permission to programs on your computer.
You can disable UAC to see if it solves the problem. However, this is an advanced process that should be tried if you have no other options left.
To disable User Account Control,
- Go to Start
- Type '' Control Panel '' and Select it
- Inside the search bar type '' User Accounts ''
- Click on '' Change User Account Control Settings ''
- Move the slider to never rectify
- Press Ok
3. Check IP Address
Besides adding IP address in the internet properties, you must also make sure that the same address is added inside the command prompt. This will make the address completely safe.
To check the IP address,
- Press '' Windows + R ''
- Type '' cmd '' and Press Ok
- Type '' ipconfig '' inside the command prompt and Press Enter
This will show the list of IP addresses all which are currently declared safe.
4. Check the DFS root path
One reason for this error to appear is because of the Distributed File System (DFS). Users who use DFS can receive this error when transferring files within a network.
Another means to disable this error is via the Local group policy editor. Using local group policy editor you must manually add the DFS root path.
To check the DFS root path,
- Go to Start
- Type '' Control Panel '' and Select it
- Select '' Edit Group Policy '' under administrative tools
- Expand '' User Configurations ''
- Expand ''Administrative templates ''
- Expand '' Windows components ''
- Expand '' Internet Explorer ''
- Expand '' Internet Control Panel ''
- Expand '' Security Page ''
- Double click on '' Internet Zone template ''
- Select '' Enabled ''
- Move the slider to low
- Press Apply and Ok
- Select '' Site to Zone Assignment list ''
- Choose Enabled
- Click '' Show ''
- Type the IP addresses inside the editor
- Press Apply and Ok


No comments:
Post a Comment